Our School Garden!
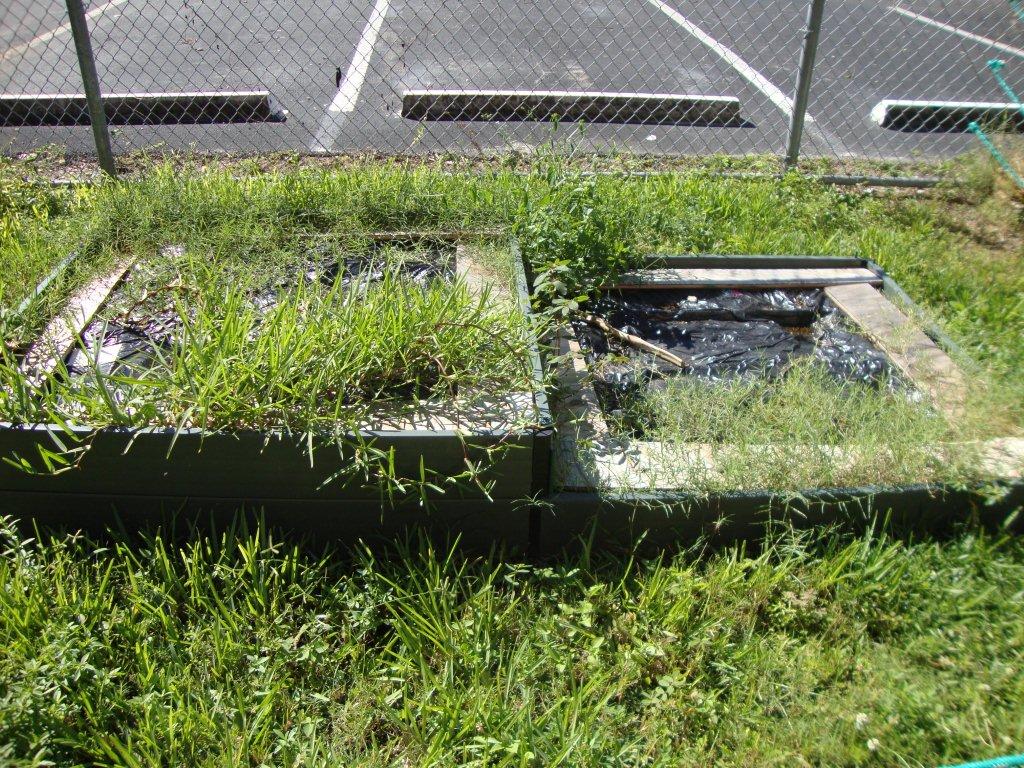
This is how our garden looked after it was put to rest
over the summer... Where do you start?
We moved the location of the garden, because water was not readily accessible.
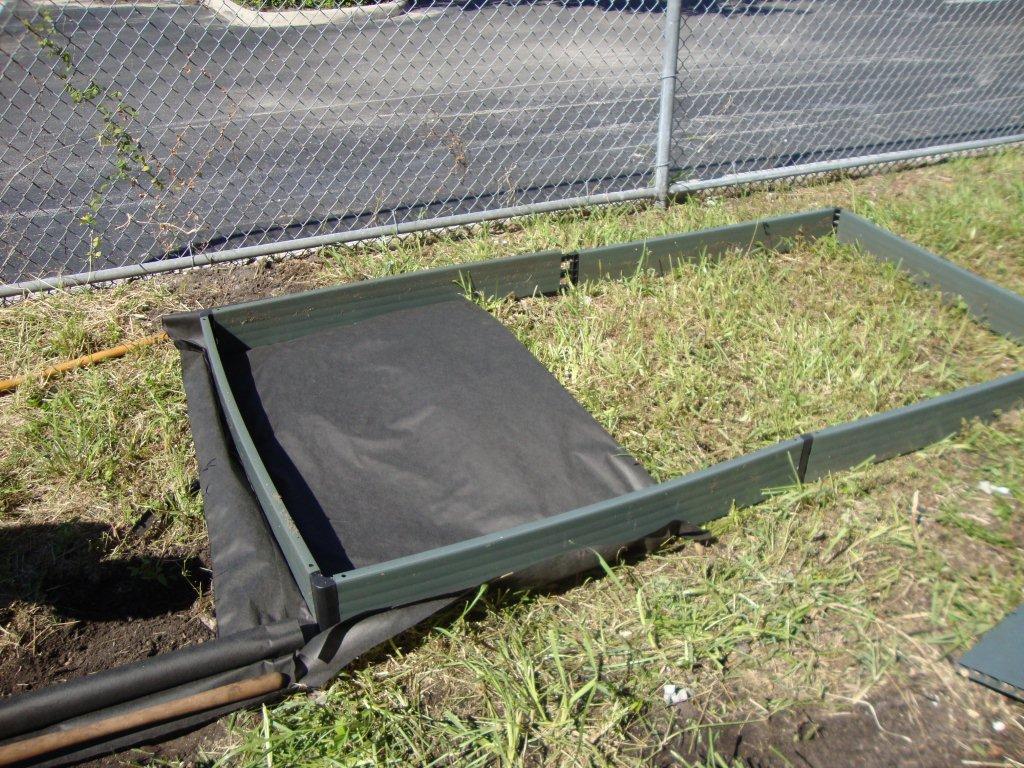
Step One : Put the frame and stretch out the weed blocker so the weeds won't grow.
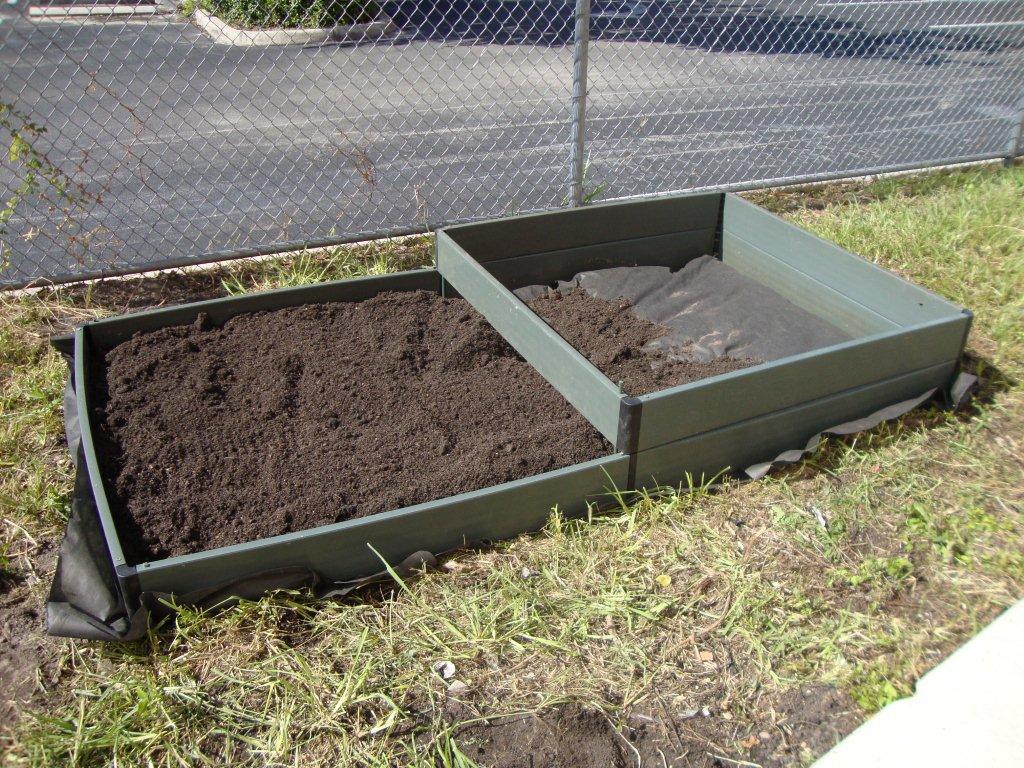
Step two: Add soil
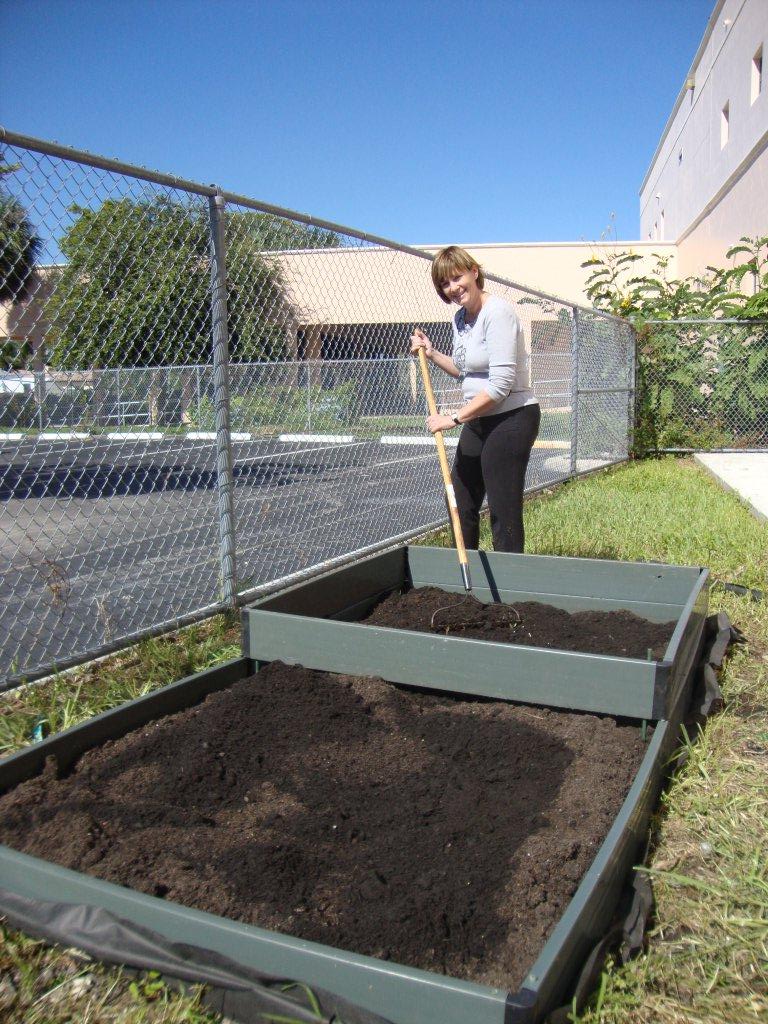
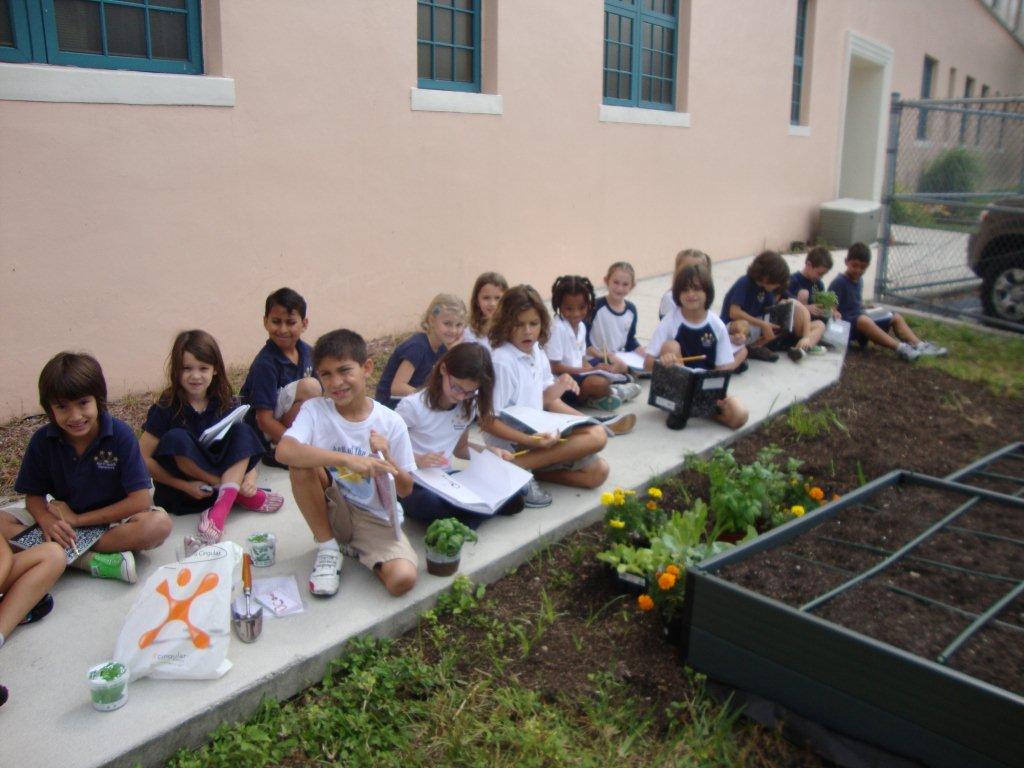
Step three: Organize your planting day.
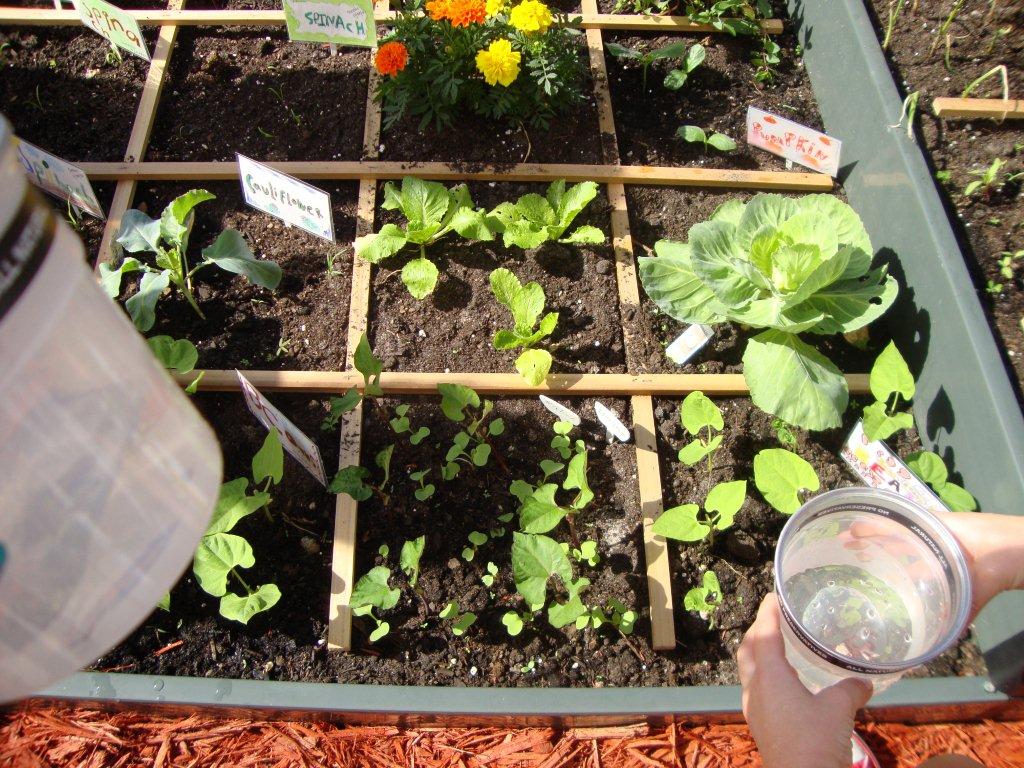
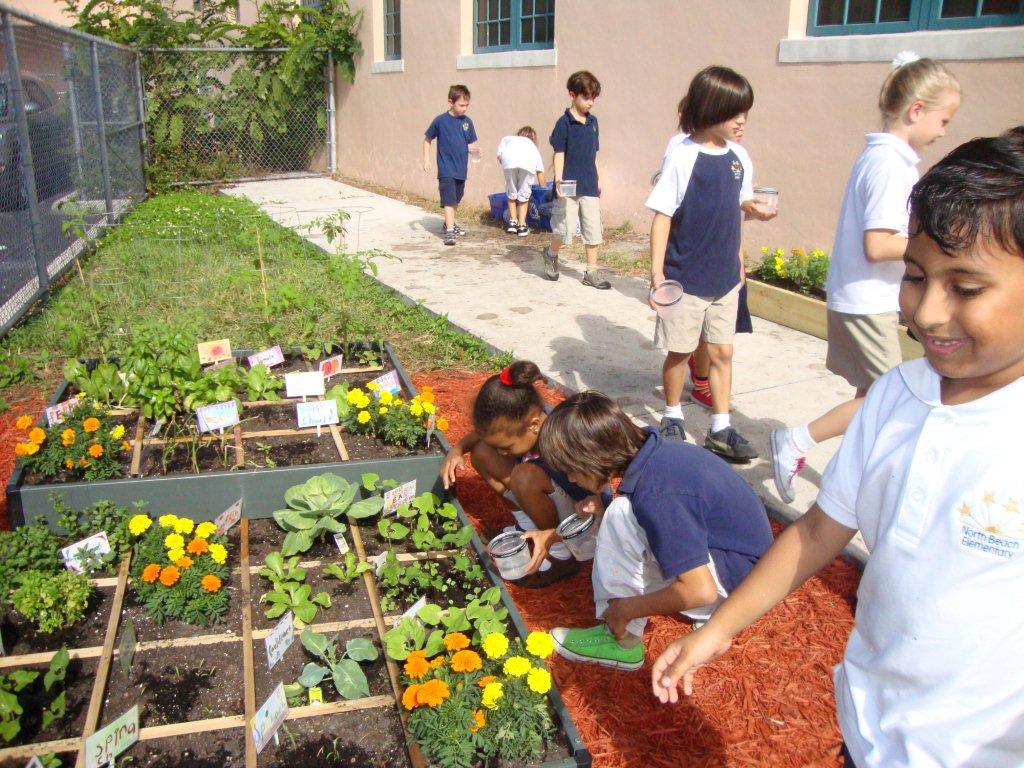
Be sure you have the garden signs before you plant,
otherwise you might not remember what you planted and where!
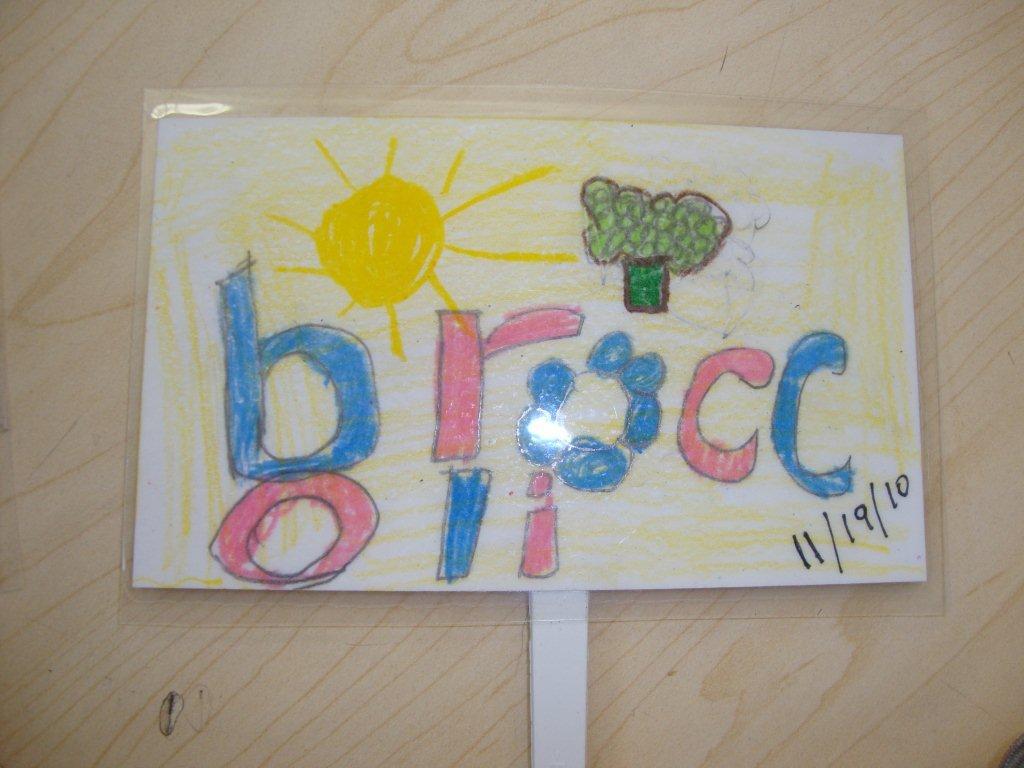
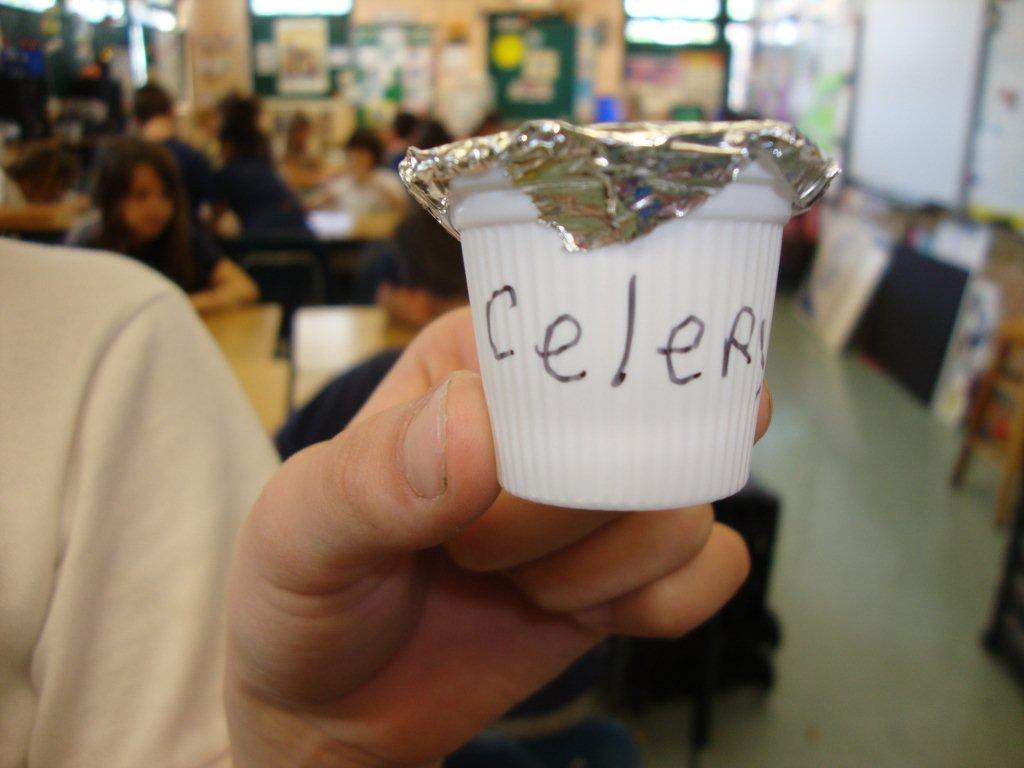
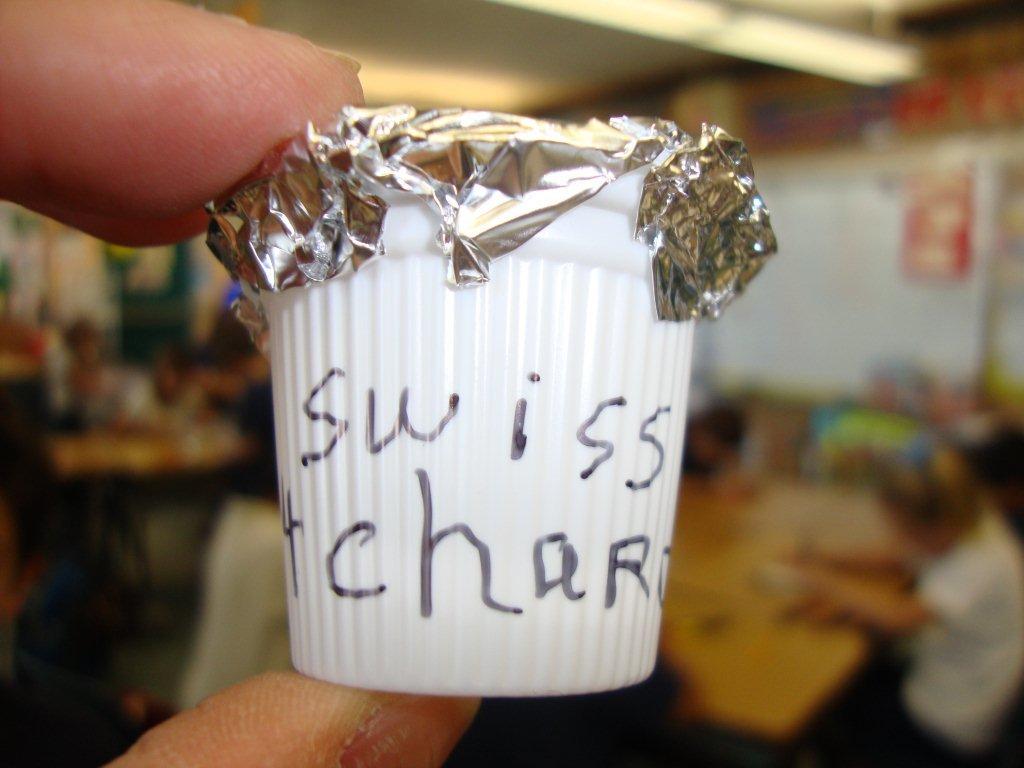
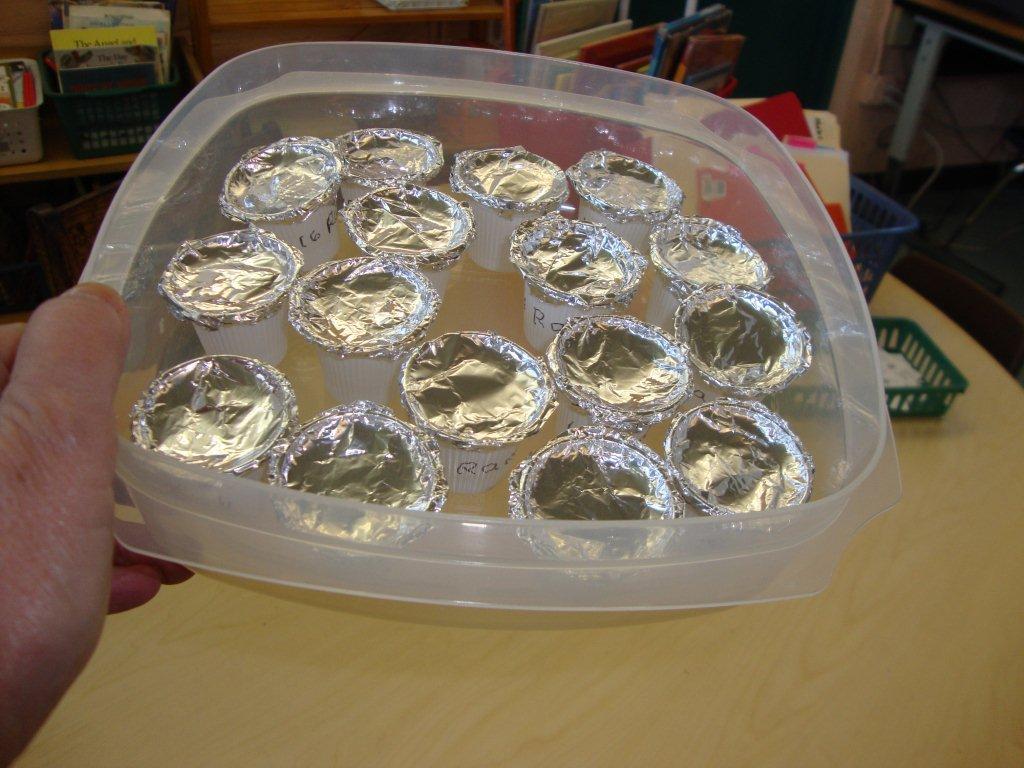
It's also a good idea to specify on the plant markers if you planted them as seeds or as starters.
These vegetables were planted as starters.

You can use the mini Cuban coffee cups to place the small seeds.
The children can handle these very well.
Step Four: Add Children and plants!


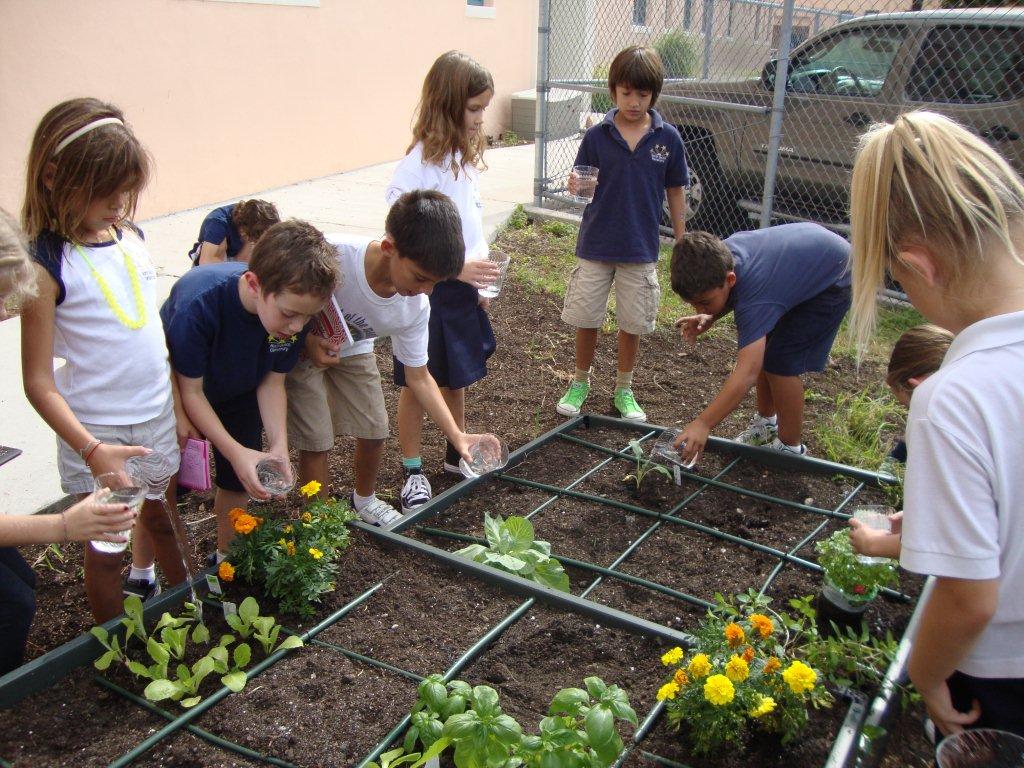
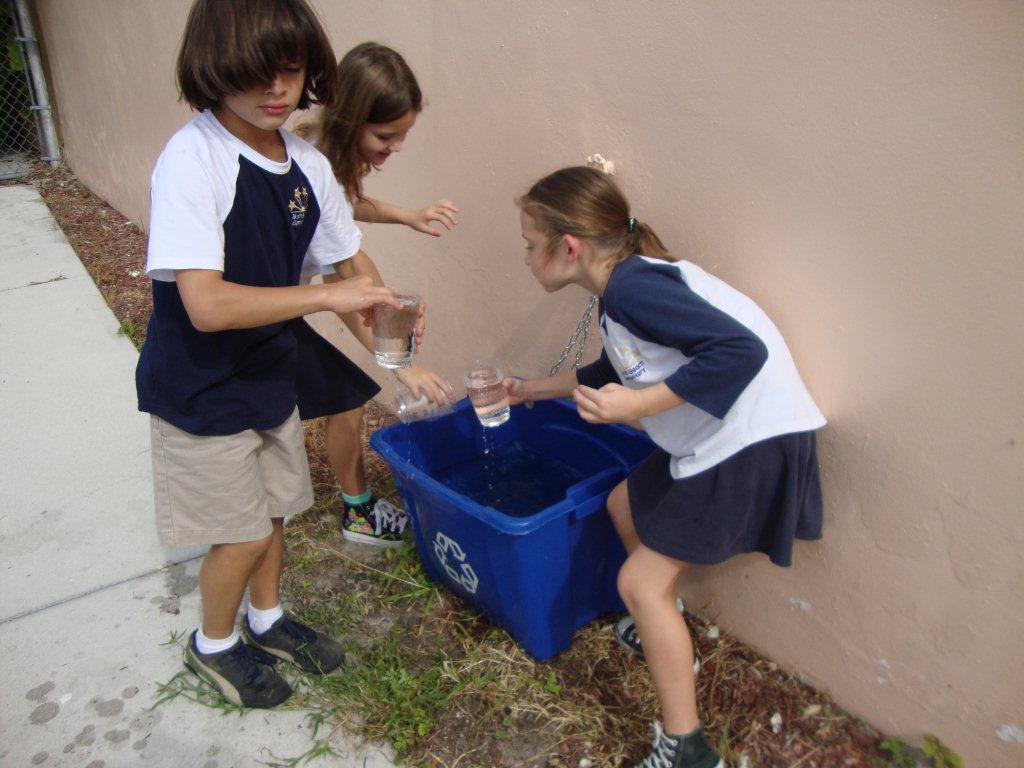
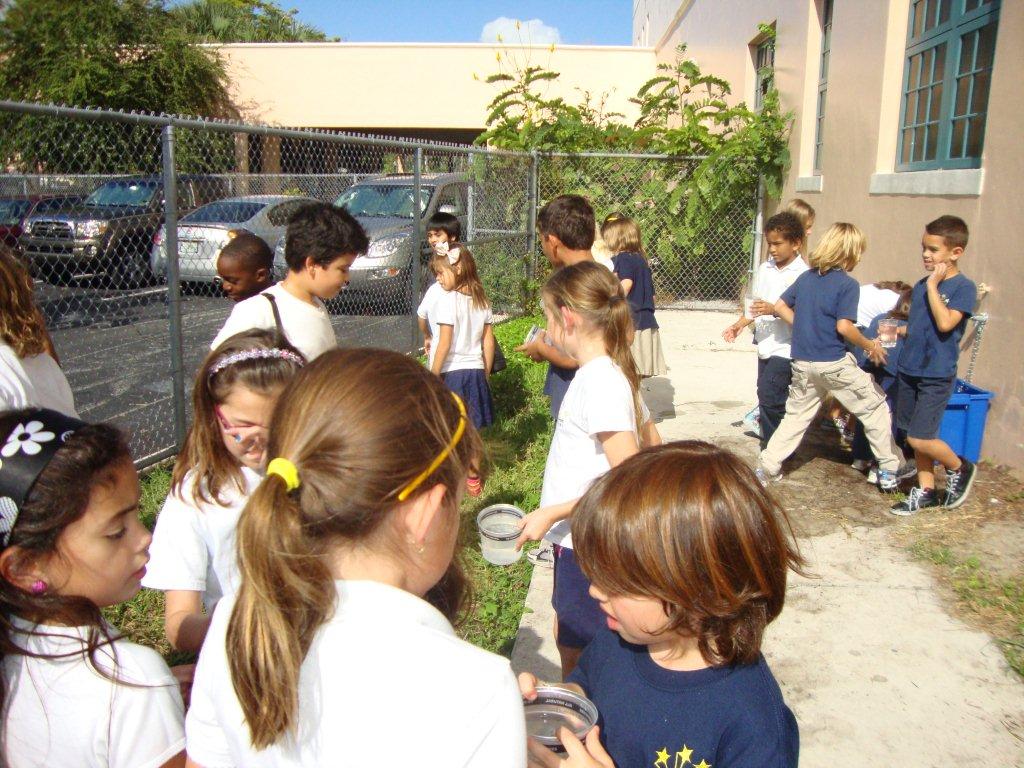
We water the garden by hand, one cup at a time....
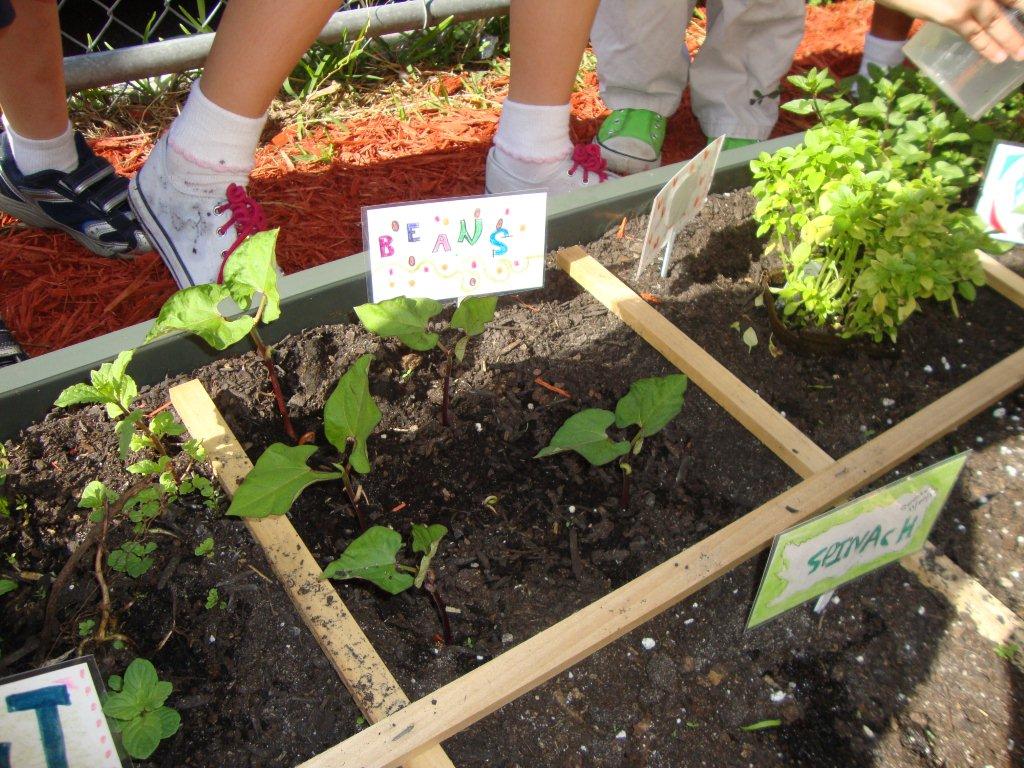
One week later... The beans, pumpkin and radishes are already out!
We changed the square foot grid, since the previous one had been damaged by the sun.
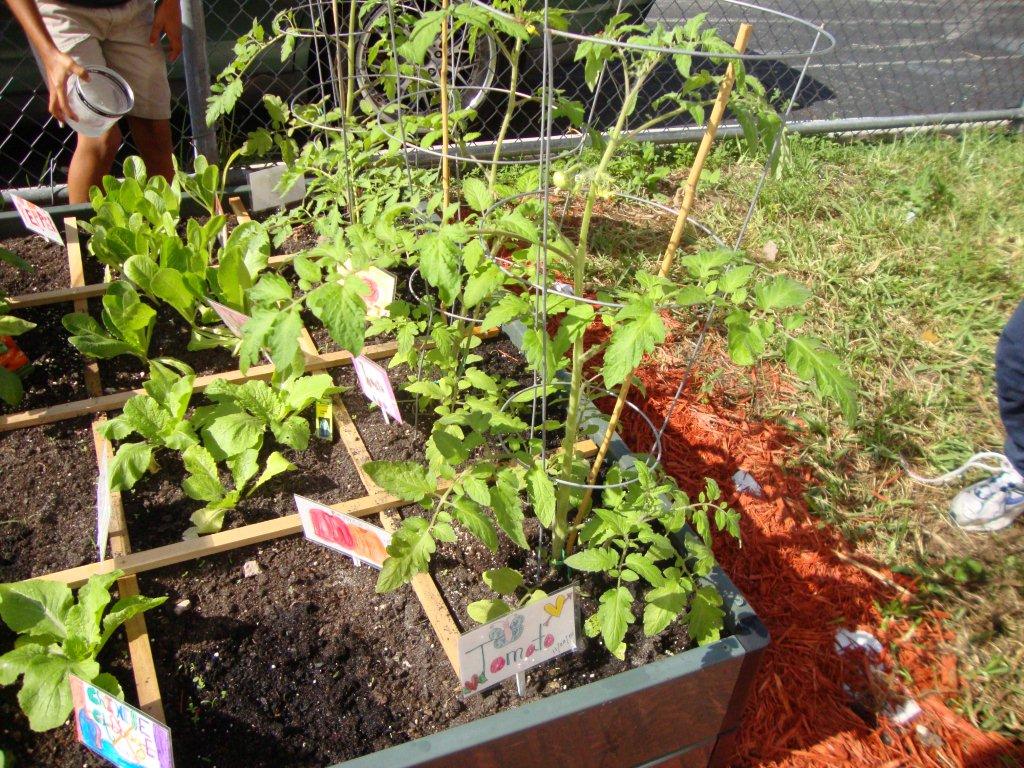
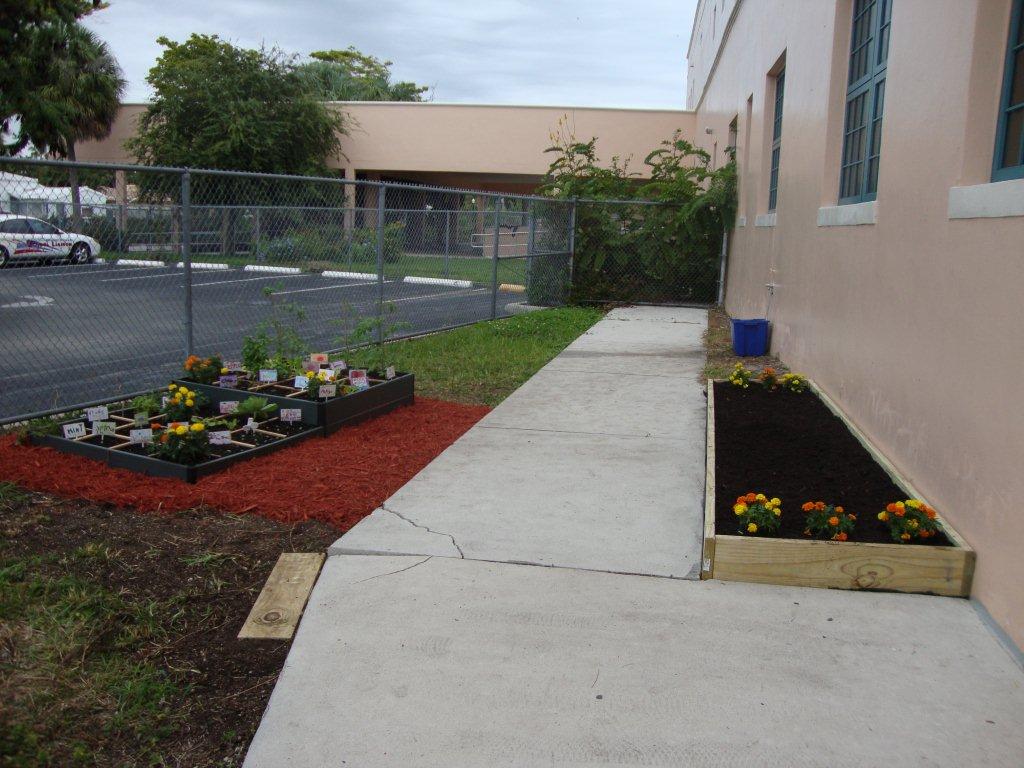
We added mulch around the garden so that weeds wouldn't grow.
We invited another second grade class to our garden, and they helped us water the plants.
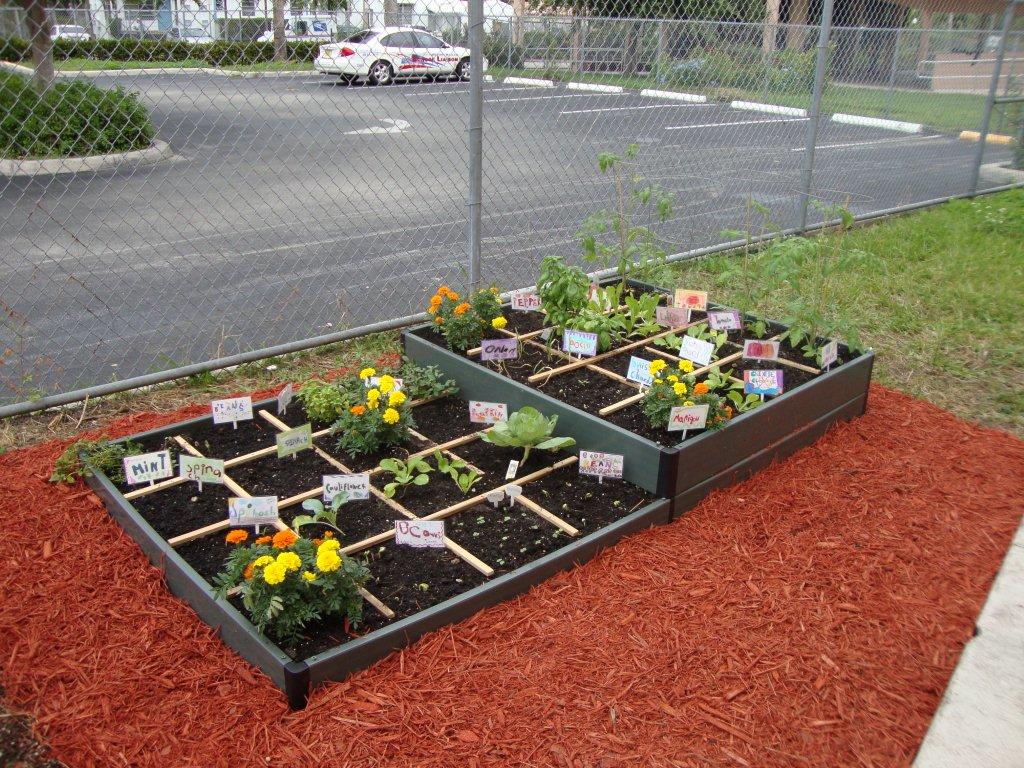
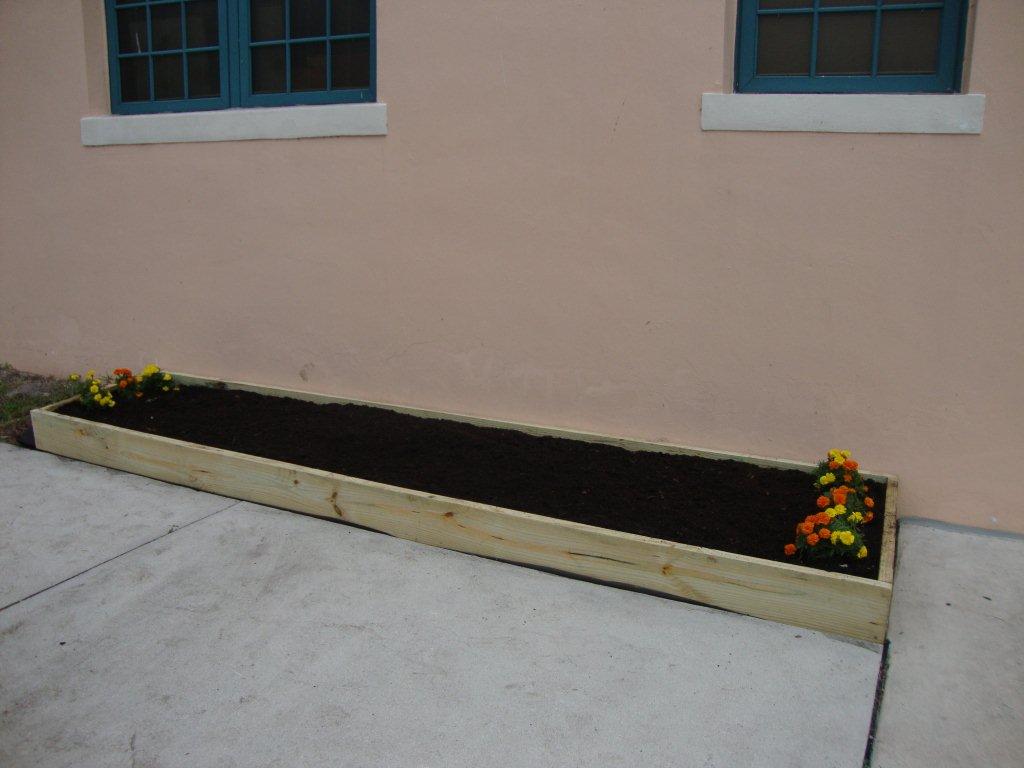
Our next project was to build another raised bed
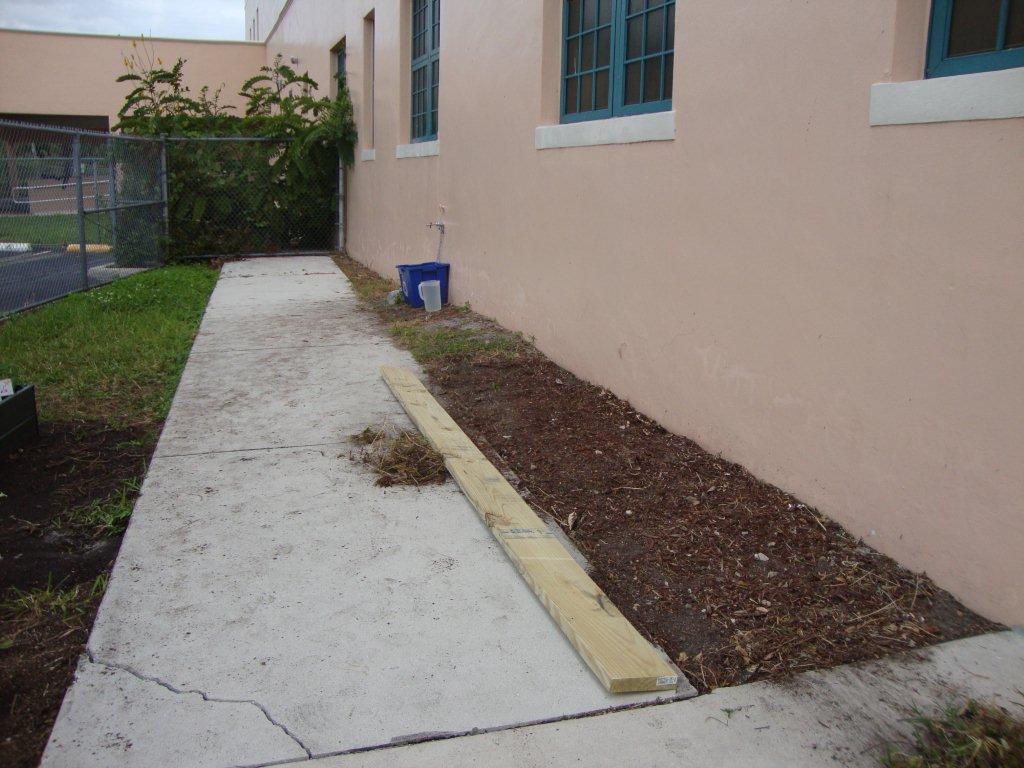
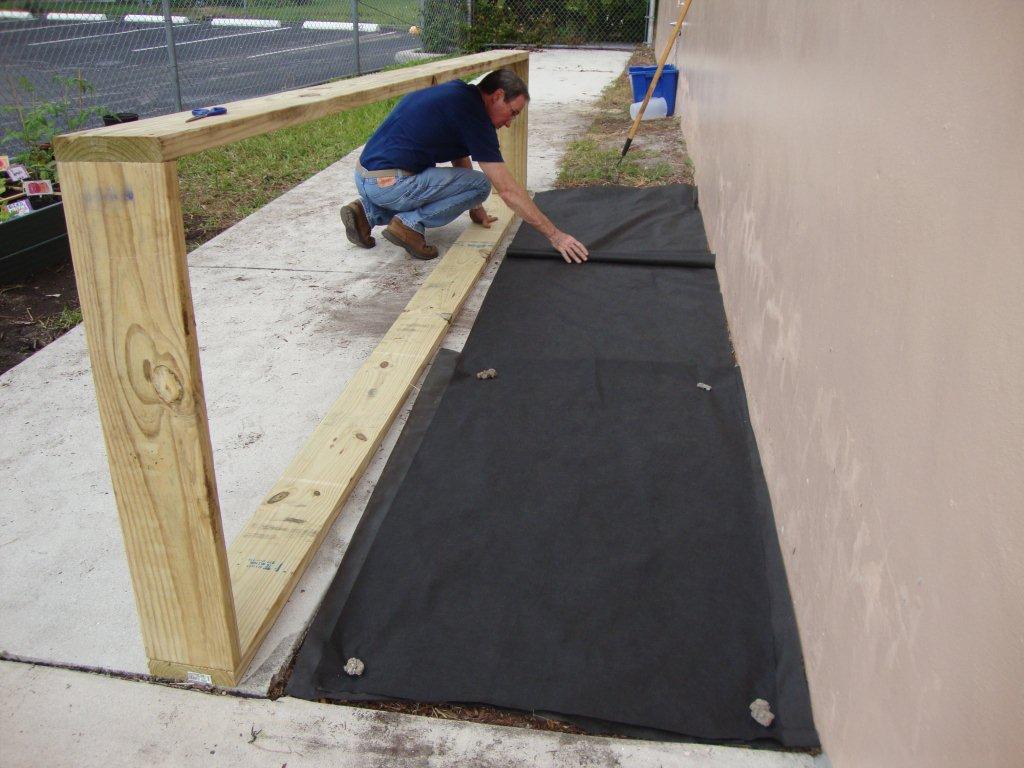
We were careful to put wood in the back too,
so that the wall won't suffer from the humidity
The final project!